Types of Solar Mounting Systems: A Scenario-Based Guide for Flat Roof, Ground, and Battery Storage Projects
2026-08-28 / Renata Silva
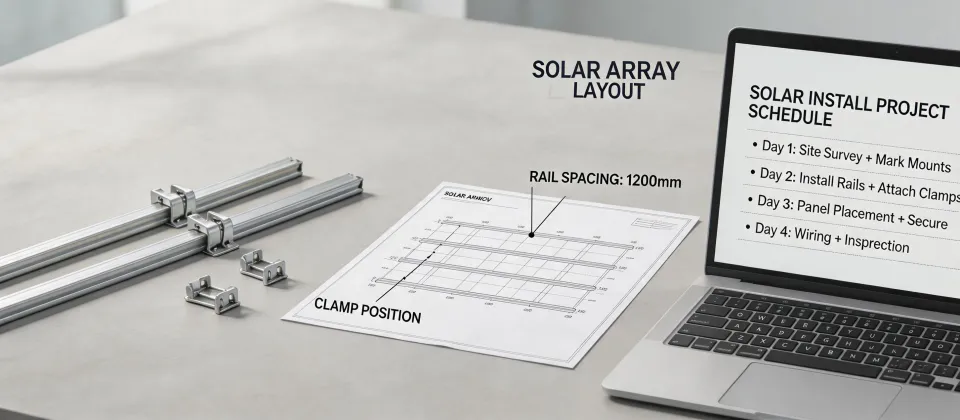
There’s a phrase I hear when a solar project gets delayed: “The racking was supposed to be the easy part.”
I get why people say that. A mounting system looks like a bunch of steel, clamps, and flashings. But after helping coordinate more than 200 orders at a mounting-systems manufacturer—including same-week turnarounds for sites that were already pouring foundations—I can tell you the opposite. Actually, let me be more specific: most emergency orders are mounting-system issues.
I don’t have hard data on how many construction delays trace back to racking. I do have a pattern in my rush orders: wrong roof type, wrong flashing profile, module clamp doesn’t fit, battery installer assumed a different layout. None of these are exotic. They’re all preventable.
So let’s sort this out the way I triage an emergency: by scenario. There are four broad types of solar mounting systems—flat roof, pitched roof, ground, and carport—and inside each type, the right answer depends on your conditions. No universal “best” exists. But the logic for finding yours does.
Four Questions That Classify Your Project
Before you compare brands, answer these:
- Where is the array? Roof, ground, or a structure like a carport?
- If it’s a roof, is it flat or pitched? This changes the entire mechanical design.
- Does the array need to move? Are you considering a single-axis tracker or a manually adjustable ground mount?
- Is there battery storage or monitoring? If yes, the mounting layout affects electrical wiring, battery charging, and sensor placement.
This isn’t a final design checklist, but it’s enough to put you into one of the scenarios below.
Flat Roof: Tilt Is a Trap
“Flat roof” isn’t literal. You’re usually working with 1°–4° of structural slope, and the racking creates its own module tilt. The two big choices are ballasted (weight holds it down) and penetrated (roof anchors hold it down). Neither is automatically better, which is exactly why projects get in trouble: one is right for your membrane and structure, and the other could turn into a series of leaks and RFIs.
A ballasted system is attractive because it doesn’t pierce the roof membrane. That’s a real benefit. Plus, ballasted systems are faster to install. But ballast adds significant weight—often in the 8–15 psf range—and your structural engineer needs to confirm the roof can handle it. If the building is older or has low remaining capacity, a ballasted system may force you to fit fewer modules than the roof otherwise could support. That production loss can outweigh the convenience.
The counterintuitive part: more tilt is not automatically more energy. On a flat roof, increasing tilt from 5° to 10° increases row-to-row spacing to avoid shading. More spacing means fewer modules in the same footprint. You can end up with more production per panel but less production overall. I’ve seen designers show a beautiful 10° layout that was actually a 15% smaller system than a 5° layout on the same roof. Run the full string size and annual kWh model before you fall in love with a steeper tilt.
The structural side matters too. Wind loads on a flat roof mount should be calculated using ASCE 7-22. If your mounting-systems supplier doesn’t ask for the building height, roof zone, and wind speed, that’s a red flag.
Pitched Roof: Flashing Is the Project
For pitched roofs, the first decision is rail-based vs. rail-less. Rail-based systems give you more options for panel placement and service later. Rail-less systems can be faster, but the module clamp positions have to fall inside the module’s approved clamping zone. Not every mount works with every module. Check the datasheet.
But the real failure point isn’t the rail. It’s the flashing. The wrong stepped flashing on a composite shingle roof, or the wrong bracket for a standing seam profile, can turn a one-day installation into a “we need this part overnight” call. I still kick myself for one quote I sent without asking about the roof deck material. It delayed the project by two days. Had the installer sent a photo of the roof edge, we’d have caught it.
5 minutes of verification beats 5 days of correction.
So before you order a pitched roof mount, get the roof profile, the flashing type, and the exact module dimensions. That’s a 10-minute call. It’s the cheapest insurance on the job.
Ground Mount: Fixed, Tracker, or Winch?
This is where “types of solar mounting systems” gets interesting. A fixed-tilt ground mount is the standard workhorse: simple, reliable, and lower cost. A single-axis tracker makes more energy but needs more land, more controls, and more maintenance. For utility-scale projects, trackers often win. For smaller systems, I think fixed is usually the no-brainer.
Then there’s the middle option: a manually adjustable ground mount. In the catalog, you’ll often see this under “winch mounting systems” because a small hand-crank winch does the heavy lifting. You lower it in winter to capture more low-angle sun, and raise it in summer for the opposite. It costs more than a fixed mount but much less than a tracker, and it doesn’t need a control system. A winch mount can buy you a meaningful amount of seasonal production for a modest premium over fixed.
The caveat: it only works if someone actually adjusts it. I’ve seen adjustable mounts sit at the same angle for years because nobody on the owning team owned the task. But then again, a mount that nobody adjusts is just a fixed mount with extra parts. If the site is unattended, fixed-tilt might be the better call. To be fair, that’s true for trackers, too.
If you don’t have open land but you have parking, a carport solar mounting system is a different path. A carport is a structural steel project, not a simple racking kit. It needs stamped engineering, wind and snow analysis, and often a different contractor. It can be worth the cost if shade and power both have value.
One more note on pricing: I’m writing this in early 2025, and steel and aluminum prices are moving more than they were a year ago. Treat any cost comparison you find online as a ballpark, not a quote. Verify current pricing and lead times before you lock in a design.
Solar + Battery + Monitoring: The Mount Is Only Half the Job
If the project includes battery storage, the mounting decision changes. You’re no longer just laying down modules; you’re designing a charging system.
How Do Solar Panels Work With Battery Storage?
Quick version: Solar panels produce DC electricity. An inverter changes it to AC for your equipment and the grid. With DC-coupled storage, some of the DC electricity goes into batteries before it’s inverted. With AC-coupled storage, the solar energy runs through the inverter first, then charges the battery through a separate inverter. Either way, the battery stores energy that would otherwise be exported, and discharges it when the sun drops or when grid rates are high.
Why does this matter for mounting? Because the number of panels and their orientation determine how much energy is available to charge the battery. A mount that limits panel count might leave a battery chronically undercharged in winter. A mount that packs in extra panels can push the inverter/battery over its charging limit—that’s clipping. The electrical design and racking design have to be modeled together. A good installer won’t design one without a rough plan for the other.
What to Ask Solar Battery Storage System Installers
When you’re collecting quotes from solar battery storage system installers, ask these:
- Do you source the mounting system, or do I provide it separately? Who coordinates the structural stamp?
- Where will the inverter and battery be located? Wall-mounted or ground-mounted? That affects trenching and conduit runs.
- What’s the max PV input for the battery inverter? Does my proposed panel count stay under that limit?
- Which monitoring protocol are you planning? Wi-Fi, Ethernet, or a mesh radio?
That last one matters more than it sounds. A lot of energy monitoring problems are actually signal problems. If the wireless energy monitor design relies on Wi-Fi and the inverter is in a metal utility room, the connection can drop. I’ve seen installers spend half a day troubleshooting a monitor that worked in the shop but wouldn’t join the site’s network. Look at the wireless energy monitor design before you finalize the electrical location. Sometimes a $20 Ethernet cable beats an expensive Wi-Fi extender.
Which Scenario Are You Actually In?
If you’re not sure which path applies, here’s a 3-question sorting test:
- Where is the array going? If it’s a roof, go back to the flat or pitched section. If it’s ground or carport, use the ground section. If you’re adding storage, read the battery section too.
- Does your local AHJ require stamped structural drawings? If yes, choose a mount manufacturer that provides them. For PV racking, also confirm the system is listed to UL 2703 for grounding and bonding (Source: UL Standards).
- Do you know your module’s exact dimensions and clamping zones? If you don’t, stop. Call the module supplier and get the data before you order rails and clamps.
If you’re an EPC managing multiple sites, standardize the mounting system per site type. The cheapest maintenance plan is fewer SKUs. Every custom mount is another chance for a mis-shipment.
Bottom Line
The most expensive solar mounting system is the one that arrives after the crew is standing on the roof waiting.
I’ve coordinated enough rush orders to know that emergency shipping is sometimes inevitable. Weather, last-minute permits, site surprises—those happen. But more often than not, what looks like an emergency is a decision that should have been made earlier. The mounting system wasn’t checked against the roof type. The flashing was wrong. The battery installer never saw the racking plan. Those are exactly the mistakes prevention catches.
So don’t look for the “best” type of solar mounting system. Look for the right fit for your project’s conditions. Flat roof, pitched roof, ground, carport, fixed, tracker, winch-adjustable—they all have a place. The trick is knowing which place is yours.
If you’re in doubt, send photos and a site plan to a mounting-systems manufacturer before you order. That 20-minute conversation is the cheapest insurance you’ll buy all year. (Yes, I’m biased. But I’ve also seen the other option.)

Renata Silva
Renata Silva is a photovoltaic module analyst covering monocrystalline solar panels, bifacial modules, TOPCon and heterojunction designs, glass-glass construction, junction boxes, and module warranties. She interprets IEC 61215 and IEC 61730 evidence while comparing rated power, conversion efficiency, temperature coefficient, bifaciality, insulation, mechanical-load results, degradation assumptions, and tolerance. Her technical guides help EPC engineers, distributors, and project buyers separate qualification evidence from site-specific energy yield, climate exposure, installation constraints, and long-term performance risk.